.png)
How to use a custom domain name with Cloudflare
Setting up a new Cloudflare account
If you already have a domain name but do not have a Cloudflare account, start here.
- Sign up for a new Cloudflare account
- Provide your domain name
- Choose the free plan
- Cloudflare will scan your DNS records and allow you to review your settings. Clear any existing records (click Delete).
- Add a new
CNAMErecord with the name "@" and the targetcname.service.pinecast.com. Proxy status should be enabled. - If you'd also like to support the "www" version of your domain, create a new
CNAMErecord with the name "www" and the targetcname.service.pinecast.com. Proxy status should also be enabled. - Click Continue
- Follow the instructions for logging in to your domain registrar and setting your nameservers. Your registrar is the company that you purchased the domain through.
- Click Done, check nameservers
- Cloudflare will notify you when your domain is set up.
When your domain is setup, visit the SSL/TLS section. The following settings should be set:
- Overview: Full (Full Strict does not work with Pinecast)
On Pinecast, visit your podcast dashboard.
- If you have not already set up a site, visit the Podcast Website tab and create a site.
- Click the link to site settings, or visit Settings > Podcast Website.
- Set your custom domain name and save.
At this point, your domain should be ready to use.
Setting up a domain already on Cloudflare with Pinecast
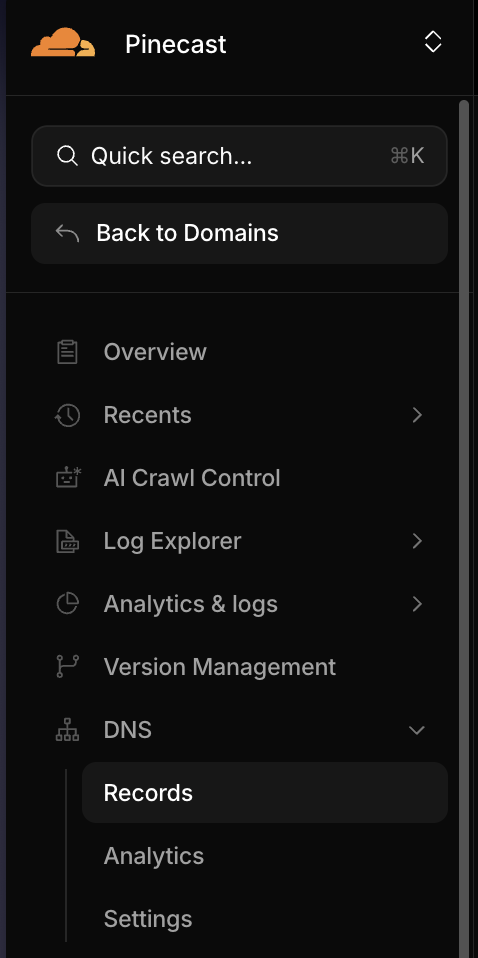
To use a custom domain name with Cloudflare, first log in to your account and visit the domain that you wish to point at Pinecast.
Visit the DNS > Records section:
In the DNS Records section, start by removing any records that may conflict with your domain. If you're setting up yourdomain.com to work with Pinecast, you'll want to remove any A, AAAA, or CNAME records that already show yourdomain.com for the name. If you're setting up subdomain.yourdomain.com to work with Pinecast, remove any of those record types for subdomain.
Next, add a new record with the following settings:

Repeat the above steps with the name www to make www.yourdomain.com work. You must have both your root domain (yourdomain.com) as well as the www variant pointed at Pinecast to correctly support both.
Next, visit the SSL/TLS section. The following settings should be set:
- Overview: Full (Full Strict will not work with Pinecast)
On Pinecast, visit your podcast dashboard.
- If you have not already set up a site, visit the Podcast Website tab and create a site.
- Click the link to site settings, or visit Settings > Podcast Website.
- Set your custom domain name and save.
Note: be sure not to include a www. when setting your domain name on Pinecast. We'll detect this and add it for you automatically.
Troubleshooting
If you run into trouble, please see the troubleshooting section on our main DNS article.